Covering furniture with film seems deceptively simple, especially after watching short videos on social media. However, in practice, beginners often find that the decorative coating starts to peel away at the corners, form “waves” or become covered with bubbles just a week after renovation. Most of these problems are not related to the quality of the material itself, but to a violation of the installation technology.
In this article, we will examine the critical mistakes that homeowners make when attempting to renovate their interiors on their own, and we will explain how to avoid them.
Mistake #1: Insufficient degreasing of the surface
The most common reason why vinyl starts to peel off is poor preparation of the surface. Even if the furniture looks clean, there is a micro-layer of dust, grease or household chemical residues on it.
- Result: The film stays on for the first couple of days, and then begins to peel off, especially in areas of constant contact (handles, ends).
- The right way: Use only special alcohol-based compounds or isopropyl alcohol. Forget about wet wipes or glass cleaners — they often leave an invisible film that reduces adhesion.
Mistake #2: Buying cheap materials from supermarkets
There is a huge difference between interior vinyl and cheap self-adhesive vinyl from DIY stores. Cheap material is thin, does not have a “memory” effect and does not have microchannels for air extraction.
- Result: Any crease in this type of film is permanent, and air bubbles cannot be removed without piercing the film with a needle.
- The right way: Choose professional architectural series. If you are unsure about your choice, it is best to consult with specialists. For example, high-qualityfurniture film coating is often only done with cast or calendered vinyl films, which are designed for long-term service.
Mistake #3: Ignoring the construction hairdryer
Many people try to apply vinyl using a cold method. However, interior vinyl is a thermoplastic material. Without heating, it will not take on the shape of corners and complex curves.
- Result: The film is stretched tight, and at the first temperature change, it tends to return to its original state, peeling away from the corners.
- The right way: Use a construction heat gun (not a hair dryer!) to warm up the edges and activate the adhesive layer.
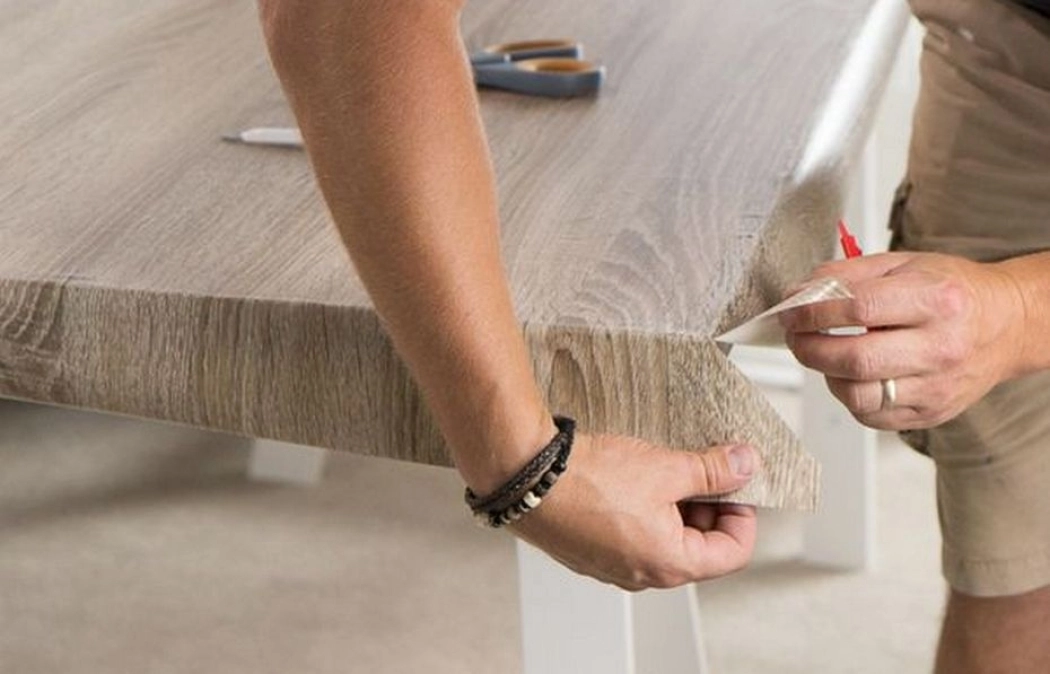
Mistake #4: Trimming “to the edge” without turning up the hem
Beginners often cut the material exactly along the edge of the façade. This is a sure-fire way to end up with “snags” after a month of use.
- Result: When cleaning or simply touching it with your hand, the edge of the film catches and starts to peel up.
- The right way: Always overlap the material on the inside of the façade by at least 5–10 mm. This creates a lock that prevents the edges from coming unstuck.
Mistake #5: Incorrect squeegee operation
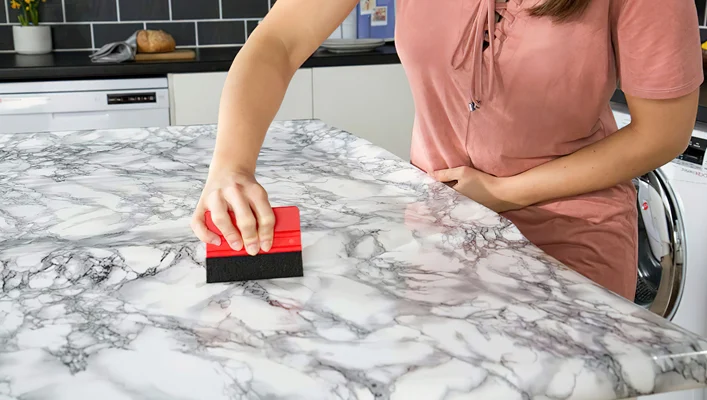
Waving your hands around or using a cloth instead of a squeegee will cause air to become trapped under the film in the form of small bubbles.
- Result: The furniture looks untidy, and on a sunny day, all the unevenness becomes exaggeratedly noticeable.
- The right way: Work with a squeegee with a felt cover, moving from the centre to the edges in a herringbone pattern, smoothly pushing out the air.
Mistake #6: Failure to apply primer
In difficult areas (inner corners, concave surfaces, MDF edges), the adhesive strength of the film may not be sufficient.
- Result: The film “pops out” of the recesses after a few days.
- The right way: Use a special adhesion enhancer (primer) at critical points. This is a mandatory step in professional installation.
Mistake #7: Rushing into operation
The adhesive layer needs time for final polymerisation (usually 24–48 hours). During this time, the material must not be exposed to temperature or humidity fluctuations.
- Result: If you turn on the stove or take a hot shower in the bathroom immediately after applying the film, it may start to peel off.
- The right way: Allow the furniture to stand in a dry room at room temperature for at least 24 hours.
Want perfect results without risk or overpaying?
Do-it-yourself restoration is always a gamble, where the appearance of your interior is at stake. If you don’t want to spend time fixing mistakes, bubbles and redoing damaged facades, entrust this task to professionals.
The team at aknakile24 offers a high-quality solution: we provide professional furniture film restoration in Estonia with a guarantee of durability.
Frequently Asked Questions (FAQ)
-
Is it possible to remove bubbles if they have already appeared?
If the film is professional grade with microchannels, you can try to remove them with a squeegee. If there are no channels, the only way is to carefully pierce them with a thin needle, but the mark may remain visible.
-
What should you do if the film starts to peel off at the corners?
You can try warming it up with a hairdryer and pressing it down firmly, but if dust has already gotten under the adhesive, the only thing that will help is to reattach the element using a primer.
-
Why does the film show through the old colour of the furniture?
This occurs when using materials that are too thin. Professional series have a blocking layer that prevents the base colour from showing through.
-
Can the film be applied to untreated wood or chipboard?
No, the surface must be smooth. Porous materials must be primed or varnished beforehand, otherwise there will be no adhesion.